What is the simplest circuit you can think of for building a flickering torch bulb or torch bulb flasher/blinker? How many components do you need? This little circuit uses only a few common components, no ICs required!
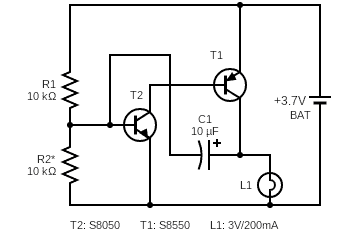
The circuit diagram is pretty simple, but I decided to draw it anyway. Now you just have to pick the correct torch bulb (filament light bulb or incandescent bulb), nothing more.
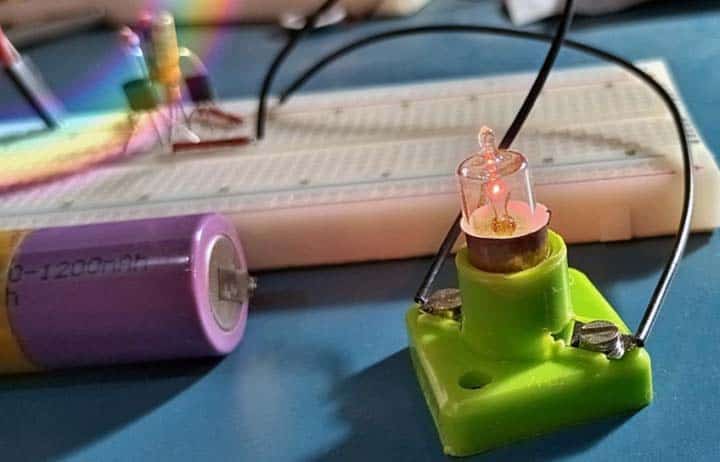
As you can see in my Facebook Reel, this small circuit works as a simple flame lamp that runs on a 1S Li-ion battery (3.7V).
When it comes to the silly parts of this project, you can find them almost anywhere. Try searching your junk box and/or attic – bet you can start this project with what you find there.
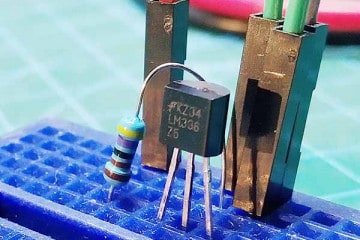
- T1: S8550 PNP BJT
- T2: S8050 NPN BJT
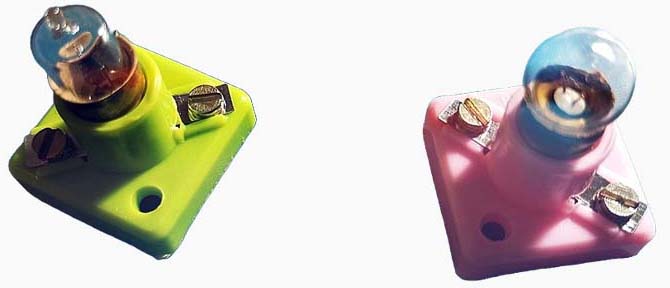
- L1: 3V/200mA Torch Bulb
- C1: 10uF/25V (see notes)
- R1: 10KΩ ¼ W
- R2: 10KΩ ¼ W (see notes)
- BAT: 3.7V/1200mAh Li-ion
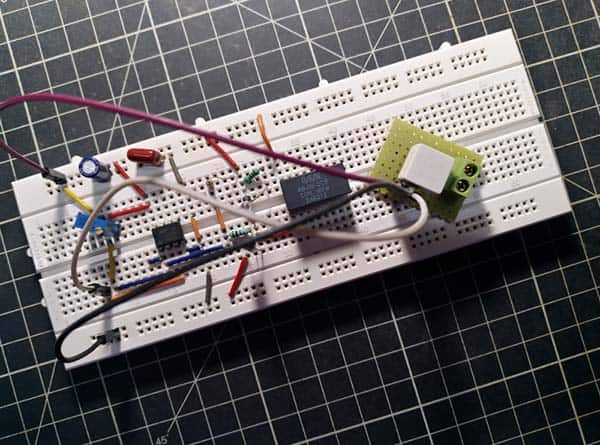
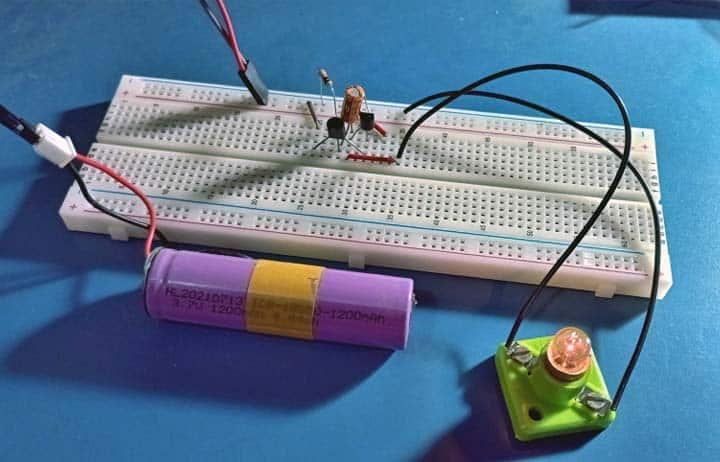
The project, built on a standard breadboard, succeeded the first time I powered it up. But breadboarding was not the right way for this project, so I built the final version of this circuit on a stamp-sized piece of perfboard. The torch bulb driver S8550 transistor is conducting moderately high current but is pulsing almost all of the time, so it does not get warm.
This is actually an archaic design, it originally used germanium transistors, which are lower gain and somewhat leaky and hard to find these days.
So, I modified the circuit myself to use silicon transistors. Notably the frequency of oscillation is not stable and is a little random, but from such a crude circuit you should not expect too much.
An advantage of this design is that it is easily adaptable. The flash rate can be adjusted by changing the value of resistor R2 and/or capacitor C1.
I continued on with my experiments using a 4.7KΩ resistor as R2 and a 100uF capacitor as C1 to slow down the flasher (usually, a capacitor of low value blinks the lamp at a faster rate). Moreover, I set the power source to 3VDC (1.5VAA x2) and connected a 2.2V/200mA torch bulb. All my circuit setups worked fine. There might be some things that could be better but I am perfectly happy with the results.
Hopefully, this DIY project is quite easy and can be copied at home by many STEM kids. Feel free to ask questions if you care to. Have Fun!